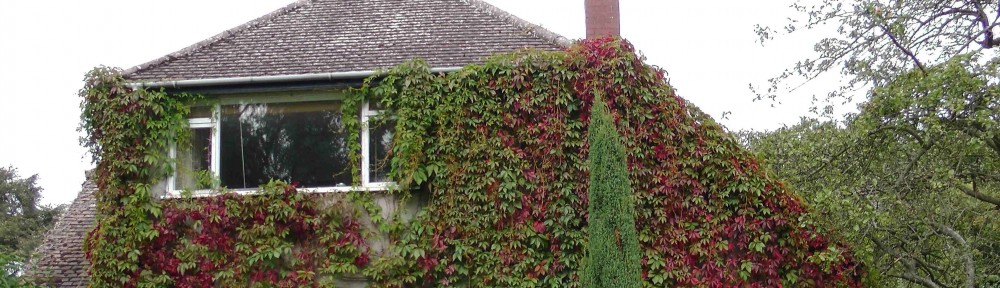
Our concern about climate change have led us to an ambitious project. We intend to move our 1930s house into the 21st century by massively reducing its need for active heating.
The main part of this project is improving the insulation. We plan to envelop the entire house in a layer of external wall insulation that keeps the heat inside. For this job, we will use 10 cm thick phenolic insulation board.
You may ask: if you are that concerned about the environment, why are you using a man made material? Why aren’t you going for something natural, like sheep’s wool or straw?
Does it make sense to use a material that ultimately derives from crude oil? Well, for us it does.
Our main restraint is that this project is a retrofit. We are adapting an old house for the future. If we had the means to start from scratch, we probably would choose different materials. As it is, we have a 1930s house that loses heat through its solid brick walls. We need to find a solution that works for us.
The speed at which heat is lost through particular materials is measured in U-values. On average, a solid wall (which is how the main part of the house is built), has a U-value of 2.1. Newly built house walls nowadays have a U-value of 0.3. We are aiming to go better than that, to about 0.23.
What would we have to do to get to that value for different materials?
- phenolic insulation board
- sheep’s wool
– straw bales
1. Sheep’s wool
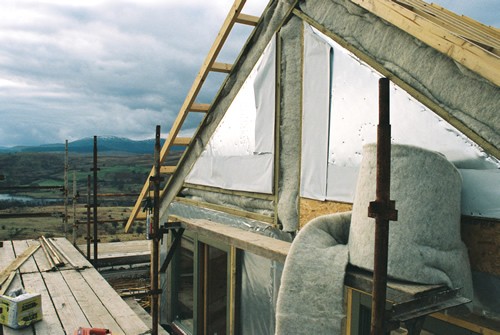
Wool works best layered between structural elements. (image from www.greenfsonline.co.u
I love the idea of wrapping my house in a nice warm woollen blanket. Natural materials certainly have an appeal, and for some projects, wool would be the right choice.
For retrofit external wall insulation, however, sheep’s wool isn’t practical. This material works best when it is sandwiched between two structural walls, like the two parts of a cavity wall. We would have to somehow attach the wool to the outside of the existing wall, and then build another structural wall outside that.
The U value of 10 cm of wool is 0.42. In combination with our solid brick wall at a U value of 2.11, that brings us to a total of 0.35, which is above the value we’re aiming for. We would have to make the insulation twice as thick to come to our ideal value.*
2. Straw bales
The advantage of straw bales is that they are structural. In other words, you can build a wall with them and it will stay up. It is a great material to build new structures with, as it also has a high level of air tightness. If we were to start from scratch, this would probably be one of our materials of choice.
However, to get to our ideal U value of about 0.2, we’d need to wrap the house in straw to a thickness of 40 cm. That is rather a lot of straw and would give us very thick walls. We would have to extend the eves of our roof quite a long way to cover this.
3. Phenolic insulation board
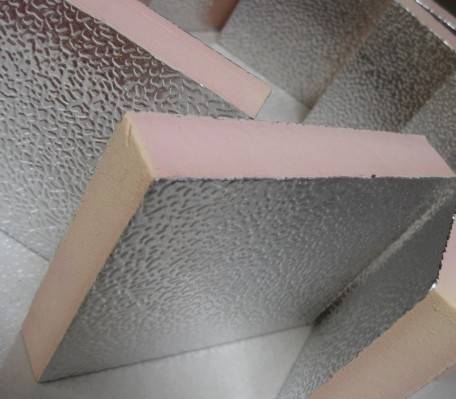
Phenolic insulation board is light and easy to work with (image from cheerforeduct.en.ec21.com)
Phenolic board is extremely light and easy to work with. So much so, that we are intending to do this part of the installation ourselves. Covered by a mesh and a special render, it is also very durable and flexible.
We will only need 10 cm of phenolic board to come to our overall U value of 0.23. This is a better standard than modern newly built houses.
We calculate that this will be enough to cut out gas central heating all together. With luck, we’ll be able to install the insulation, and the new windows, this year. We need to live with it through the winter to find out how much heating we will actually need.
Here’s hoping that solar hot water, a wood burner, and phenolic insulation board will keep us cosy even in freezing temperatures.
Have you made similar choices? What worked for you? Please share your experiences in the comments below.
*To find out how U values are calculated, click here.

