
This year, we have dedicated our lives to making our house as energy efficient as we possibly can. We have chosen to retrofit our ordinary house from the 1930s with external wall insulation. The aim is to get as close to a passive house standard as possible.
This is not an easy thing to do. It would be far more practical to build a new house to a high efficiency standard and be done with it. Retrofitting involves a lot of fiddly work. And because the rest of the house is very much attached to the walls, things get in the way. We’re doing it because we love this house and because we can.
The gold standard for insulation involves insulating right down to the foundations of the house.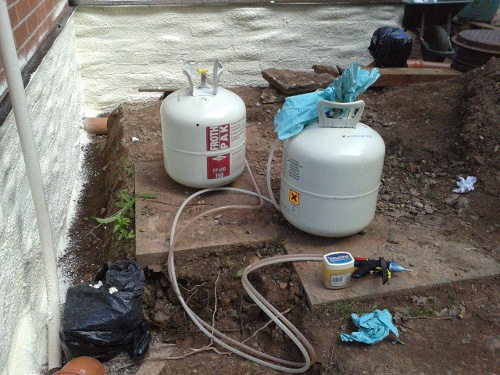 We had to dig down far enough to reach them.
We covered the foundations in a spray foam that comes in two canisters. The two chemicals mix in the spray nozzle and turn into a hardened foam within seconds. Since we were doing whole walls at a time, Alex did the spraying while Hilde followed him closely with a wheelbarrow containing the two canisters.
The next job was to make the joins between the windows and the wall air tight. Our new windows are state-of-the art triple glazed, and well sealed. It would be a shame to lose heat through the cracks around them.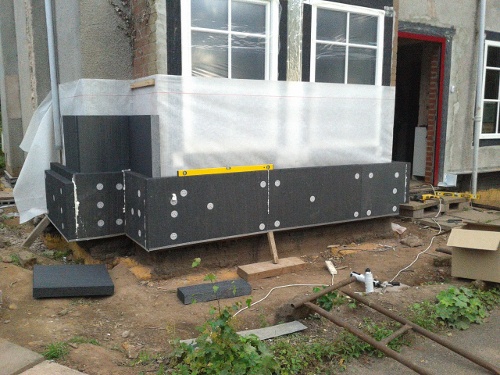
The process started by repairing the wall where the window replacement had left an uneven surface. This was mostly done with cement render, but touching the window frames we used a fibrous filler.
Modern windows of that type are built with a small slot on the edge of their frames. This slot is there to receive the gasket that is attached to an airtight membrane. The job here was to painstakingly insert the gasket into the slot to make the seal. The membrane was then glued to the wall with black silicone glue. Most of this was Hilde’s job.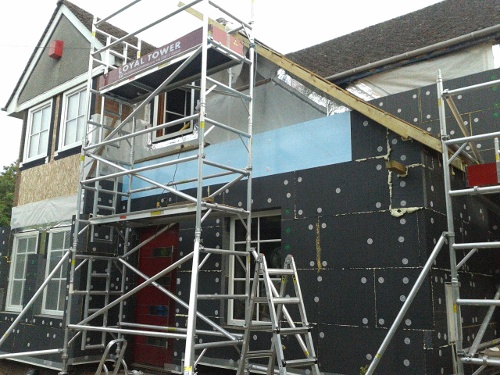
The main event of the insulation project is covering the walls with polystyrene boards. We are using 8 cm thick boards of expanded polystyrene with anthracite, which is more insulating than the ordinary white stuff. We are fixing the boards to the wall in two layers, three on the North facing wall.
The polystyrene is attached to the wall with special plastic fixings. Metal is not suitable, as it would provide a ‘cold bridge’. When the screw gets cold, it conducts the cold into the wall and reduces the efficiency of the insulation.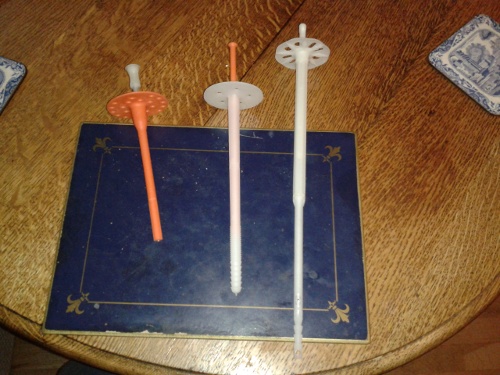
For each fixing, a hole is drilled and filled with expanding foam. Then the plug part of the fixing is hammered in, followed by the plastic spike that holds everything in place. The white fixings on the black boards do look like domino pieces. Virtually every visitor comments on the look, which is, thankfully, temporary.
Underneath the polystyrene, a vapour proof barrier provides the airtight layer. It’s a thin sheet of white ‘breathable’ plastic. It has to be carefully layered together and detailed around the windows, so that no air can get trough. Every tiny leak will make all the work we have done less effective.
The air tight barrier is also carried on over the top of the walls and into the loft. There, it will be joined with the loft insulation, using more of that spray foam from the two canisters.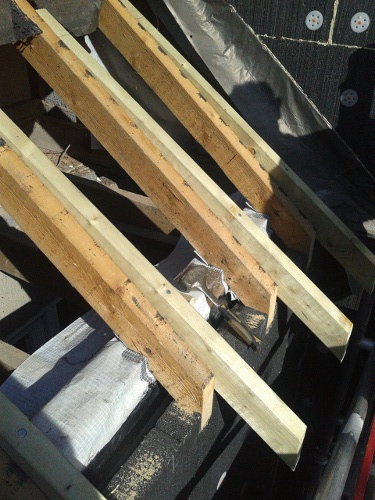
In order to get the vapour barrier into the house, we need to take the edge of the roof off. And while we’ve got the tiles down, we are also extending the eaves of the roof to cover the walls, which are now, of course, more than 16 cm thicker than they were. Alex is practising his carpentry skills: measure twice, cut once.
We have employed a professional plasterer to render over our dominoes. The final look very much depends on the smoothness of the finish. There is no way we amateurs could do it justice.
Our plasterer has covered a few walls now, and we are getting an idea of what the finished product is going to look like. We can’t wait for the colour coat to go on. That will (hopefully) improve the aesthetics, and also provide a protective, self-cleaning outer layer to our insulation.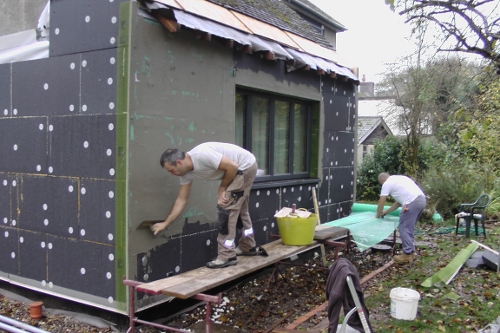
All of this is still ongoing. We have completed some of the walls, but more needs to be done. We’ll be working on the roof and the insulation into the winter, as other things depend on certain parts of it being finished.
We’ve pretty much been through all the steps once, though. Hopefully things will go smoothly and we’ll be able to show you what the house will look like pretty soon.