It finally feels as though our renovation adventure has properly started. The first few square metres of our walls are covered in insulation. The process of insulating the foundations is simple but labour intensive.
In order to give the house a good air tight envelope, we need to insulate the outside wall past ground level down to the concrete foundations. We will also be putting insulation boards underneath our new concrete floor when we start work indoors. Leaving the foundations bare would create a cold bridge that would compromise the effectiveness of the floor and external wall insulation.
The first step in the process is to dig a trench a couple of spades deep by the
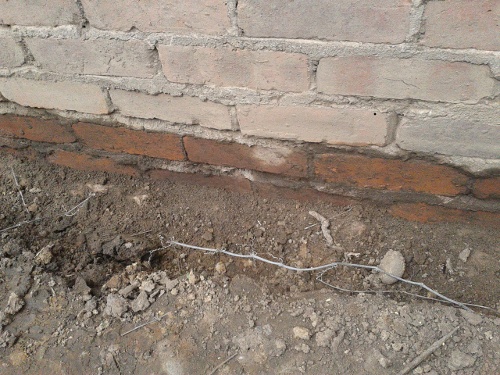
Trench dug down to the concrete foundations.
outside wall of the house. While we’re at it, we’re changing the way the drain and waste pipes are configured, ready for when we build our new bathrooms. We are also laying a path all around the house to keep vegetation away from the relatively vulnerable EWI. Lots of digging required, but we’re up for it, with a little help from our friends.
Having revealed the brickwork below ground level, we took a stiff brush to it to remove the last bits of earth. This gives the spray foam the best chance of adhering to the wall. Next, we
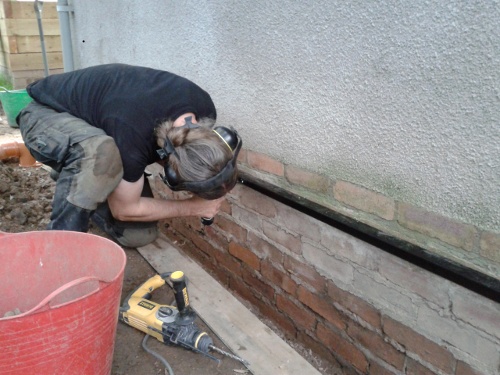
Attaching the plastic edge to the wall.
screwed an L-shaped plastic profile to the wall, just underneath the damp proof course, marking the top edge for the insulation foam. It turned out that this really helps to keep the edge clean and the foam away from the damp proof course.
Then came to fun part: spraying the Forth Pak foam onto the wall. We are using a product called Froth Pak, which comes in two canisters, red and blue. The two products combine in the spraying nozzle. Once they are mixed, they harden very quickly to form a hard coat on the wall.
Froth Pak comes with some very specific instructions. You need to attach the tubes to the
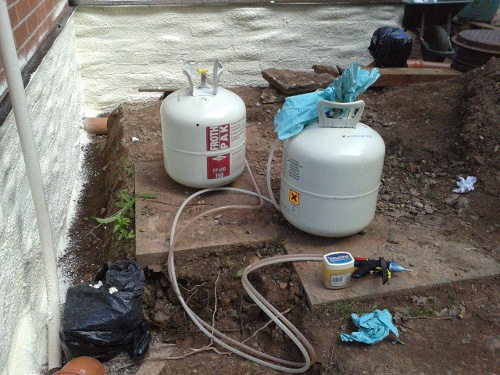
Froth Pak canisters with tubes, nozzle and vaseline
canisters correctly, blue to blue and red to red. The disposable nozzles are clipped in with some vaseline. This keeps the trigger nice and clean. Once you start using the nozzle, you can’t stop for more than 30 seconds before the combined products start to harden inside and you have to throw it away and attach a new one.
Because of that, we put the canisters in a wheel barrow they could stay close to the person spraying. the tubes are about 3 metres long, which is shorter than our walls. We managed to keep going quite smoothly that way, even though the route took us from one side of the house to the other, via some dug trenches.
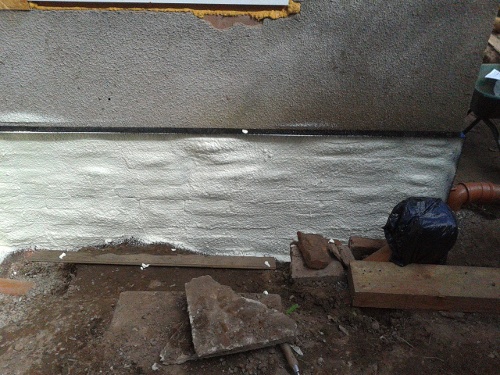
Our first coat of insulation.
At our first go, we didn’t know how frothy the product would be, so we ended up
with a coat that was too thin. We learned that you can’t go back over a bit you’ve recently done, as the new expanding layer will pull the layer that is already hardening off the wall. If you need a second coat, you need to give the first coat some time to harden completely.
Unfortunately for us, the second coat had to wait. As we opened the valve on one of the canisters for our second go,

The blue canister developed a leaky valve. This isn’t supposed to happen.
foam started frothing out of the valve. That’s not what was supposed to happen. We took the faulty canister back to the shop. Thankfully they were very understanding and helpful and gave us two new canisters. Apparently this fault is rare but not unheard of. The second coat went on smoothly after that.
Finally, we painted the top 30 cm or so of our foundation insulation with bitumen paint, to weather proof it. This is the bit that will stick out above ground level, so it needs some
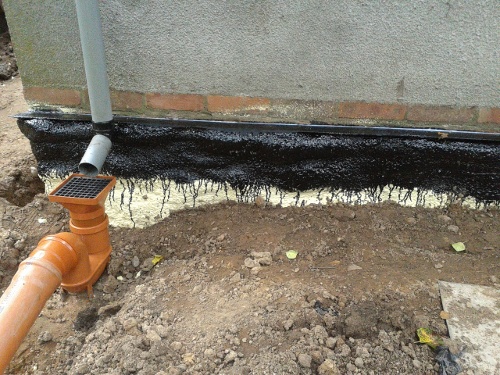
The finished insulation. Our path will raise the ground level further.
extra help. We soon worked out that a daub of diluted PVA is needed to help the bitumen paint stick to the shiny surface of the insulation.
We have done about a third of our foundations. With a few more days of nice
weather, we should be able to finish.
Next, we’re getting ready for scaffolding. Watch this space.